Setting Up Your First Case
The first time you sign up on Quepid you will be prompted with a big blue button to Create Your First Relevancy Case.
A Case refers to all of the queries and relevance tuning settings for a single search engine. For example, if we are running a movie rental store and we want to improve our "Star Wars" search results, we may create a new case and call it "star wars." Under this case we will perform our searches and provide our judgments.
Creating a New Case
Click the Create Your First Relevancy Case. If you don't see it, then click the Relevancy Cases menu at the top and click Create a case.
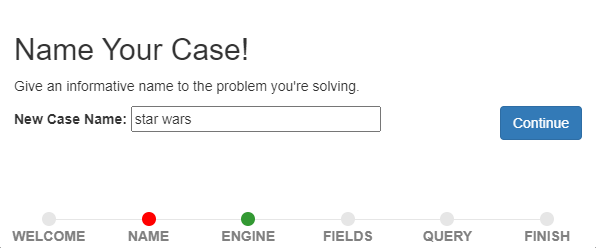
The first piece of information we are asked to provide is a name for the Case. Enter "star wars" and click Continue.
Now, we need to set up the connection to the Search Endpoint. We're going to use a publicly hosted Solr search engine as our Search Endpoint. Click the Create a new Search Endpoint button and a panel will scroll open with all the supported Search Engines. We'll use the demo https://quepid-solr.dev.o19s.com/solr/tmdb/select setting.

Click the ping it link to verify the connection to Solr works, and you will get a green confirmation message. If you get a red error message, check you can directly connect to https://quepid-solr.dev.o19s.com/solr/tmdb/select URL as some corporate firewalls prevent access to the demo Solr. Once connected, click the Continue button to proceed.
Picking Document Fields to Display
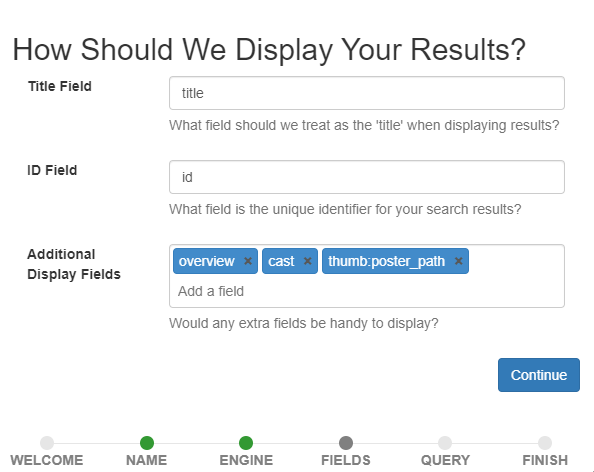
Now you will be asked for some fields in your search results. This information is determined by how your data is indexed in your search engine. If you don't have or know this information check with your infrastructure team. The information provided here will control how Quepid displays the search results for rating. The field specified by the Title Field will be shown in bold in the search results. For a search index of movies, you probably want this field to be the title of the movie. The ID field is the unique identifier for each document in your index. Quepid uses the value of this field to uniquely identify each document in the search results.
The Additional Display Fields allows you to specify a list of other fields whose values will be shown in Quepid's search results. You can use these fields to provide information about each document to help you provide a judgment on its document. For example, to provide human judgments for a movies search engine, it may be helpful to know the overview of the movie, the cast members, director, or tagline. It can be difficult to judge a movie's relevance to a search query based only on the movie's title. The movie title "Independence Day" doesn't tell us anything about aliens attacking Earth but with the movie's overview and tagline we know more about the content of the movie.
Once you have the fields configured click the Continue button.
Adding Queries
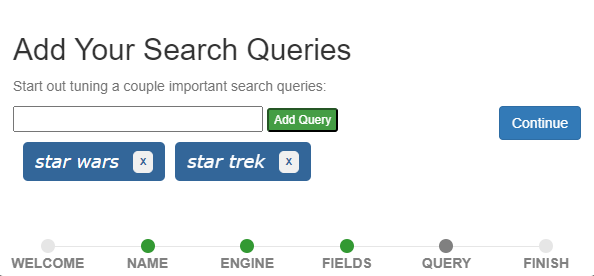
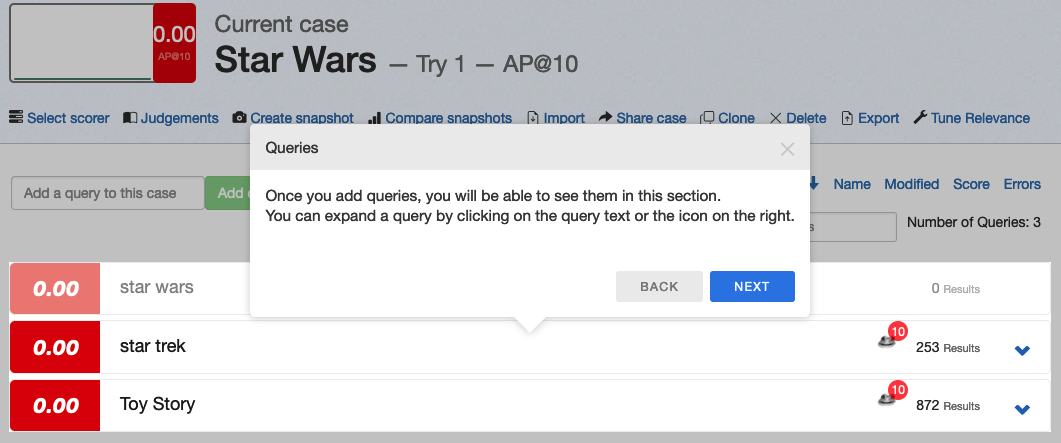
Now we are ready to add our search queries! You can add as many queries as you need to. These are the queries for which you will be judging the search results. If you are not sure what queries to add, check with your search engineering team. In this tutorial we will add two queries: star wars and star trek.
Once those are added click the Continue button.
That is all the information we need to provide so click the Finish button.
Learn about the Case Screen
The first time you go through the case creation wizard you will be prompted to learn more about the interface. We'll follow along with the prompts!
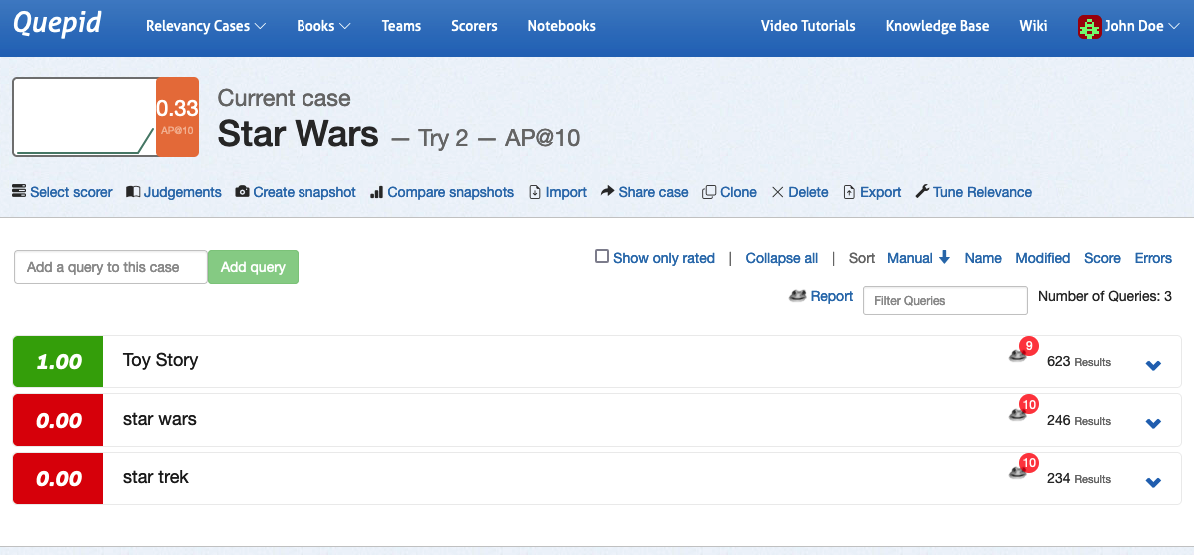
The Case Header
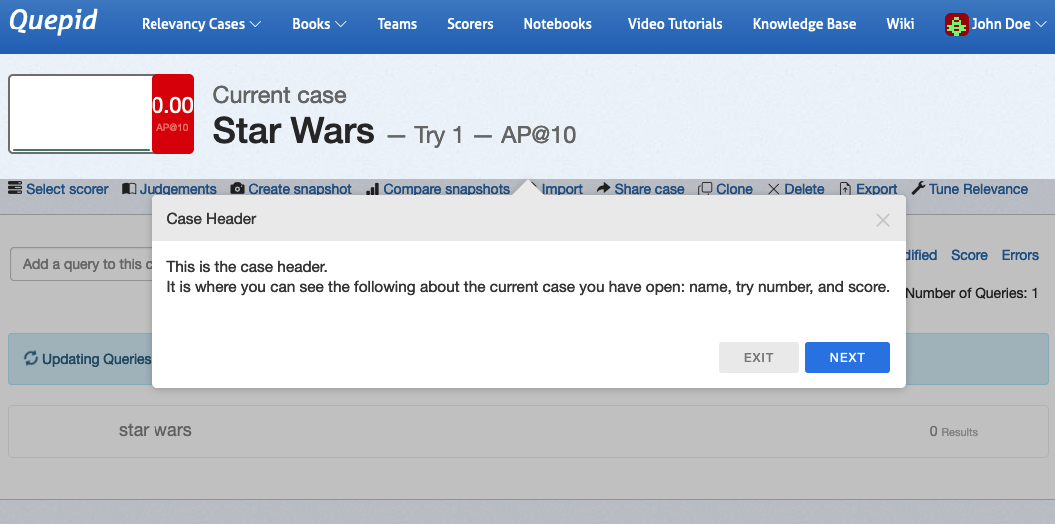
As you can see the Case Header is the summary of our Case. We are just starting our relevance journey, so we have Try 1, and the Scorer we have chosen is AP@10, otherwise known as Average Precision over the first ten documents returned for each query. We'll learn more later about the different types of Scorers. Click Next in the wizard and then we'll highlight more the Case Score
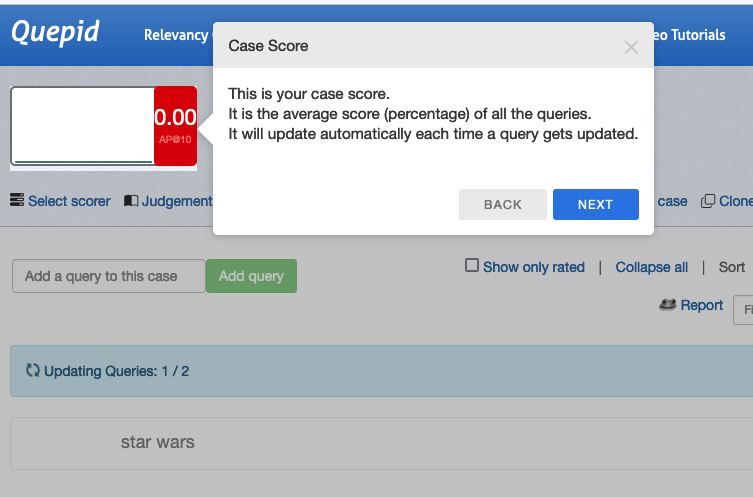
Since we don't have any judgements all of our scores are 0, so it isn't very interesting!
In this tutorial we use the terms rating and judgment interchangeably. In the context of search relevance, both terms mean the same thing, i.e. a scaled label given to a document indicating the document's relevance to a given query.
Moving on, we can now see the interface for adding new Queries. Go ahead and add the query Toy Story as prompted.
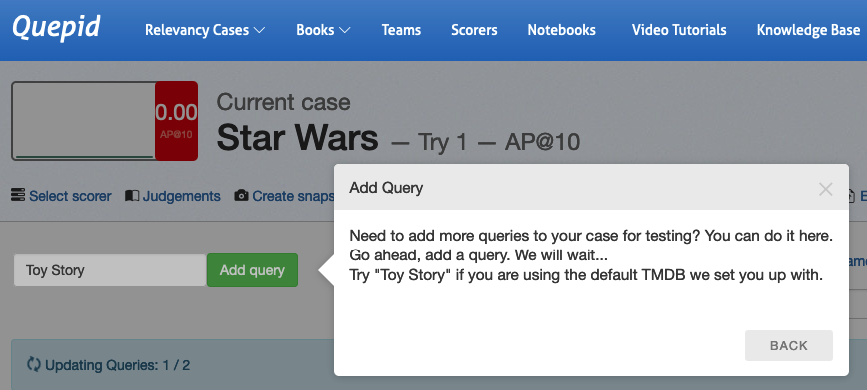
Now you can see that as you added the new query Toy Story, Quepid ran it and retrieved 872 matching results.
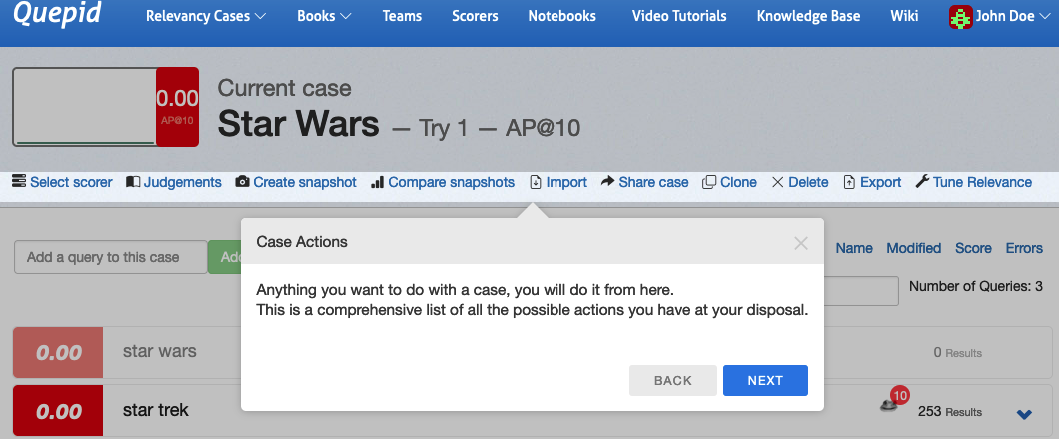
Case Actions
Now, there are a large number of actions that you can perform on a Case. You will learn about them in future tutorials.
Relevance Tuning Panel
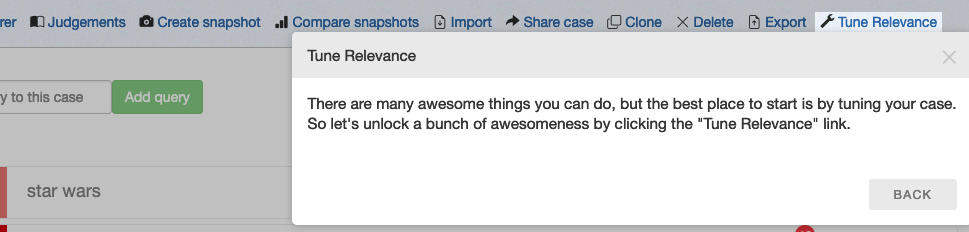
To actually improve search we need to open up the Tune Relevance panel on the right hand side of Quepid by clicking Tune Relevance link in the Case Actions row.
Which then opens up a panel on the right that exposes a rich set of options for playing with your search algorithm

Let's actually see if we can improve our query by instead of searching all the text via the qf=text_all clause, changing it to search just over the title and overview fields in the documents by setting qf=title overview. Then click the Next button and you will be prompted to click the blue Rerun My Searches! button. Click it to run with your new query fields defined.
Notice that the Try incremented? Quepid preserves a history of your changes via the Tries.
Congratulations! You have now set up your first Case in Quepid.