Quick Start Wizard
The "Quick Start Wizard", which launches on first login or any time you create a new case, will guide you through configuring your Solr, Elasticsearch, or other search endpoint and setting up your case.
What you need to complete the wizard
- A Solr or Elasticsearch instance that is accessible from your browser
- A list of desired fields from your search engine
*Note: You can use the demo Solr or Elasticsearch instances provided to test Quepid
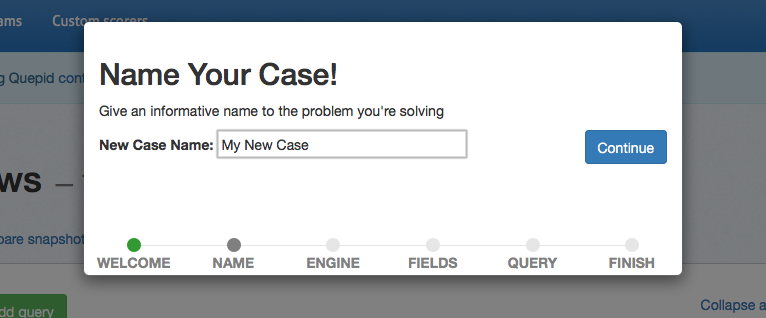
Naming Your Case
First you will be required to enter a case name. Select something descriptive to distinguish between your cases.
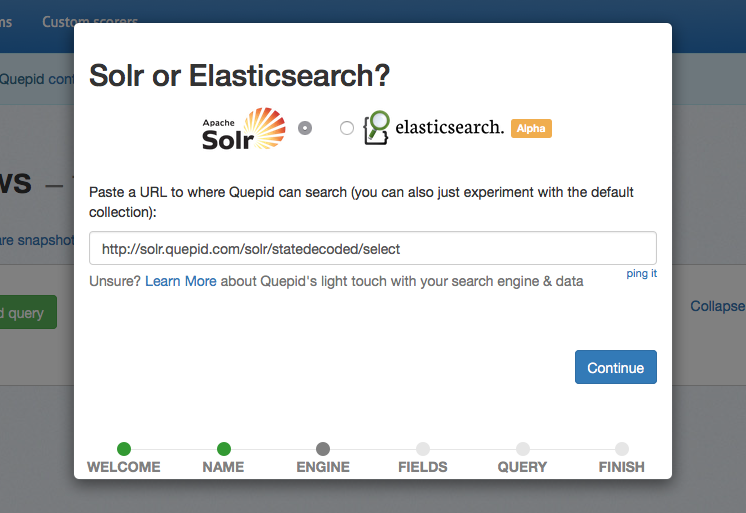
Connecting your Search Engine
Quepid does not require any installation on your server. All you need to do is indicate which search engine you are working with, and provide the URL to your search engine. A wide variety of search engines are supported.
You will be able to update this URL at any point in the settings. If you want to try Quepid out without providing your data, feel free to leave the default collection selected.
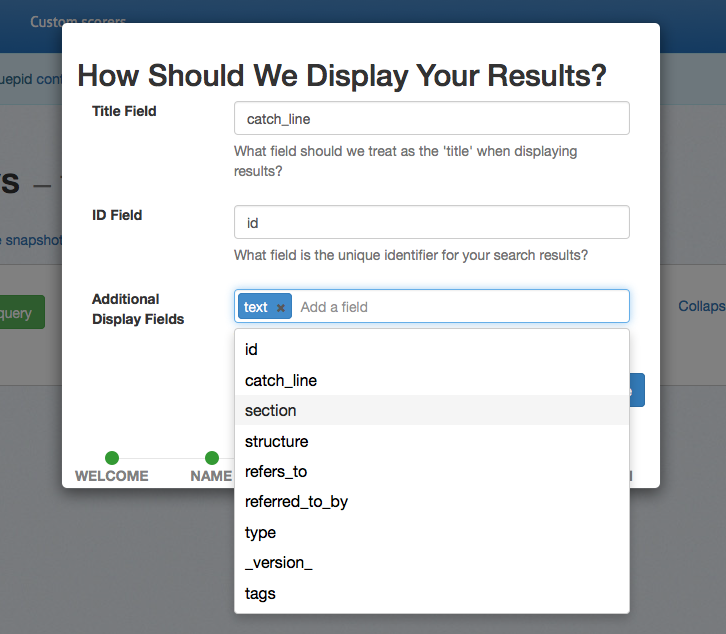
Selecting Fields to Display
Specify the title field to use for display purposes. This typically corresponds to the field you use as a clickable title in your application while displaying search results. The application provides an autosuggest list of potential fields, but you are free to use any field in you search engine.
The ID field is the only other required field to use Quepid. This should correspond to the unique identifier specified in your schema and should be a number or string. The ID is the only field stored in Quepid, so your sensitive data will remain securely on your servers.
You can select additional fields if you would like to see other data in your Quepid results. You can also specify images with the following syntax: thumb:field_name and video/audio with media:field_name. Fields that have a value that starts with http will be turned into links.
Adding Queries
At this point the required setup steps are complete. You have the option to provide some initial queries, but you can also add queries at any time in the application. It is helpful to add at least one query here so that your results will be populated when the application initially loads.
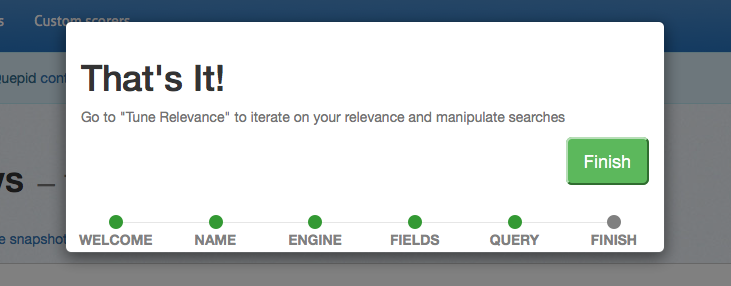
Finishing the Wizard
That's it! Quepid is configured and you can now proceed to exploring the Quepid interface.